 |
|


 Nov 13, 2006, 02:01 AM // 02:01
|
#1 |
|
Wilds Pathfinder
Join Date: Feb 2006
Location: In a house....
Guild: bleh
|
 My Digital Paints
This is my first attempt to pain something digitally. Tell me what you think...
Before:  After  Tell me what you think Last edited by Lint; Nov 14, 2006 at 12:22 AM // 00:22.. |

|

|
|
Nov 13, 2006, 02:04 AM // 02:04
|
#2 |
|
Jungle Guide
Join Date: Mar 2006
Location: CT
Guild: NITE
Profession: R/
|
At first it looks just like a gradient tool, but you can see the strokes and blending and stuff. Very nice!
|
|
|
|
|
Nov 13, 2006, 02:38 AM // 02:38
|
#3 |
|
Raged Out
Join Date: Sep 2005
|
suprisingly that looks pretty sweet
 nice job! nice job!
|
|
|
|
|
Nov 14, 2006, 12:19 AM // 00:19
|
#4 |
|
Wilds Pathfinder
Join Date: Feb 2006
Location: In a house....
Guild: bleh
|
I just made a new one, but this time getting into something harder/larger. Snow White
 BTW i for the flowers i started doing them and then i realized i have not the time or patience to do everyone(especially on a school night). so i kept them blank. Before: After: 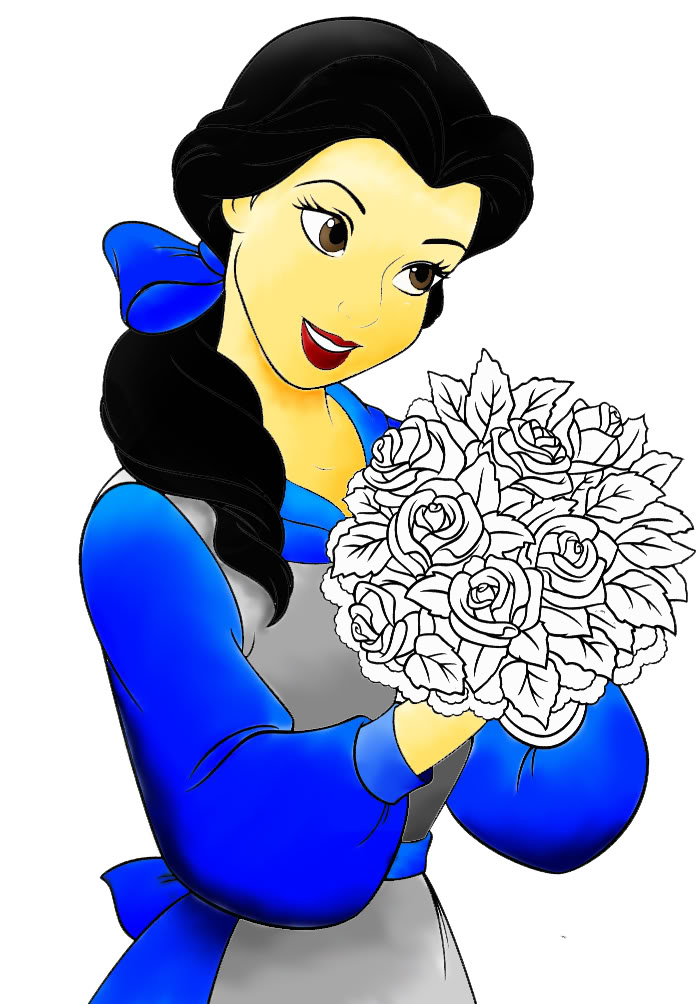 Tell me what you think. I'm just practicing until i can do actually detailed characters. Last edited by Lint; Nov 14, 2006 at 12:24 AM // 00:24.. |
|
|
|
|
Nov 14, 2006, 01:03 AM // 01:03
|
#5 |
|
Frost Gate Guardian
Join Date: Jun 2006
Location: Virginia
Guild: Grenths Rejects [GR]
Profession: N/Me
|
you mean Beauty and the Beast. It's Belle.
|
|
|
|
|
Nov 14, 2006, 03:45 AM // 03:45
|
#6 |
|
Krytan Explorer
Join Date: Jun 2006
Location: UK
Guild: DVD Forums [DVDF]
Profession: Mo/Me
|
Not bad I'd say. The shading on the blue dress has come out quite nicely. The main thing I notice, is that you have some scruffy edges to your colour, where it meets the black and white sketch. To me, it looks like it's been caused by using the fill bucket (which doesnt handle anti aliasing very well)
There are a couple of ways around this, my prefered method, (assuming this is done in photoshop...) is to have your sketch on a seperate layer to your colouring. Have this layer on top of all the others, and set its mode to "multiply". Now you can do all your colouring on a seperate layer beneath it, and not have to worry about drawing over your original sketch. You can still use the fill bucket to block in the majority of the colour (tick the "sample all layers" box) and then use a brush to hand paint around the lines. There are other alternatives, like using layer masks, or simply painting over the sketch, but the method above is what I use in my work, and has served me well enough. |
|
|
|
|
Nov 14, 2006, 11:53 AM // 11:53
|
#7 |
|
Wilds Pathfinder
Join Date: Feb 2006
Location: In a house....
Guild: bleh
|
Thanks for everything ^^. As for the white marks there from the smudge tool. It makes it looks better but a fking pain in the ass as you can see errors from the white marks. Ill try you method today. But just asking how do you handle blending the colors together?
Thanks in advance Last edited by Lint; Nov 14, 2006 at 11:56 AM // 11:56.. |
|
|
|
|
Nov 14, 2006, 12:54 PM // 12:54
|
#8 |
|
Krytan Explorer
Join Date: Jun 2006
Location: UK
Guild: DVD Forums [DVDF]
Profession: Mo/Me
|
Well, because I use a tablet, it's possible to blend the colours by hand, just by applying different levels of pressure with the pen. However, that's somthing that's hard to achieve with a mouse. For a more "CG" look, you can use the blur tool, or even a blur filter (gausian blur does the trick). The reason that you get lines like you have when you use the blur tool, is that photoshop will attempt to blend the colour, with the background (be it white or transparent) and will thus lighten it, giving you these little halos. The trick to getting those blur tools to not leave lines, is to actually apply colour past your outline, and then crop around the edges (either by hand with an erraser tool, or with some deft use of the magic wand tool, and selection options).
|
|
|
|
|
Nov 17, 2006, 08:05 PM // 20:05
|
#9 |
|
Krytan Explorer
Join Date: Dec 2005
Location: The Arse-end of no-where
Guild: Grey Mortals
Profession: Me/E
|
Dukkeeeee!
|
|
|
|
 |
|

«
Previous Thread
|
Next Thread
»
| Thread Tools | |
| Display Modes | |


 Linear Mode

|
|

All times are GMT. The time now is 02:20 PM // 14:20.
